Getting Started with TapAI
Follow this step-by-step guide to start supercharging your iOS productivity with TapAI.
Table of Contents
Step 1: Watch TapAI in Action
Step 2: Purchase TapAIOne-time payment valid for one year

Visit the TapAI website to purchase the TapAI shortcut.
- Go to https://tapai.aicanvas.app on your iOS or desktop device.
- Select the appropriate plan (Starter, Advanced, or Ultimate).
- Complete the purchase using your preferred payment method.
Step 3: Check Your Email

After your purchase, you'll receive an email with important installation information:
- Check your inbox for an email from TapAI (be sure to check your spam folder if you don't see it).
- Open the email titled "Your TapAI [Plan Name] order".
- In the email, you'll find:
- A confirmation of your purchase and plan details
- A unique download link for the TapAI shortcut
- Your license key (you'll need this during installation)
- Other infomations of your license key.
- Keep this email handy as you proceed to the installation step.
Step 4: Install TapAI
Follow these steps to install TapAI on your iOS device:
- On your iOS device, open the email you received in Step 2.
- Tap the download button provided in the email.
- When the link opens, tap [Get Shortcut] to add the TapAI shortcut to your device.
- Once installed, enter your license key and Google Sheet ID when prompted. If your Google Sheet ID is not ready, you should leave it blank. (You need share your Google Sheet to email: [email protected] with editor role)
- After setting it up, if you want to make changes, you can open the Shortcuts app and find TapAI. Then, long-press the TapAI shortcut. When the menu appears, select 'Details,' then choose the 'Setup' tab, and click 'Customize Shortcut.' You can then repeat the above steps to enter the License Key and Google Sheet ID.
Step 5: Set Up TapAI

Configure TapAI to work with your device:
- Open the Settings app on your iOS device.
- Go to Accessibility > Touch > Back Tap.
- Choose either Double Tap or Triple Tap.
- Scroll through the list of actions and select "TapAI".
Step 6: Using TapAI

Now you're ready to use TapAI! Here's how to get started:
- Navigate to any screen on your device that contains information you want to process (e.g., an email with event details, a webpage with a task list, a chat with friend, etc.).
- Double-tap (or triple-tap, depending on your setting) the back of your iPhone.
- TapAI will activate and process the content on your screen.
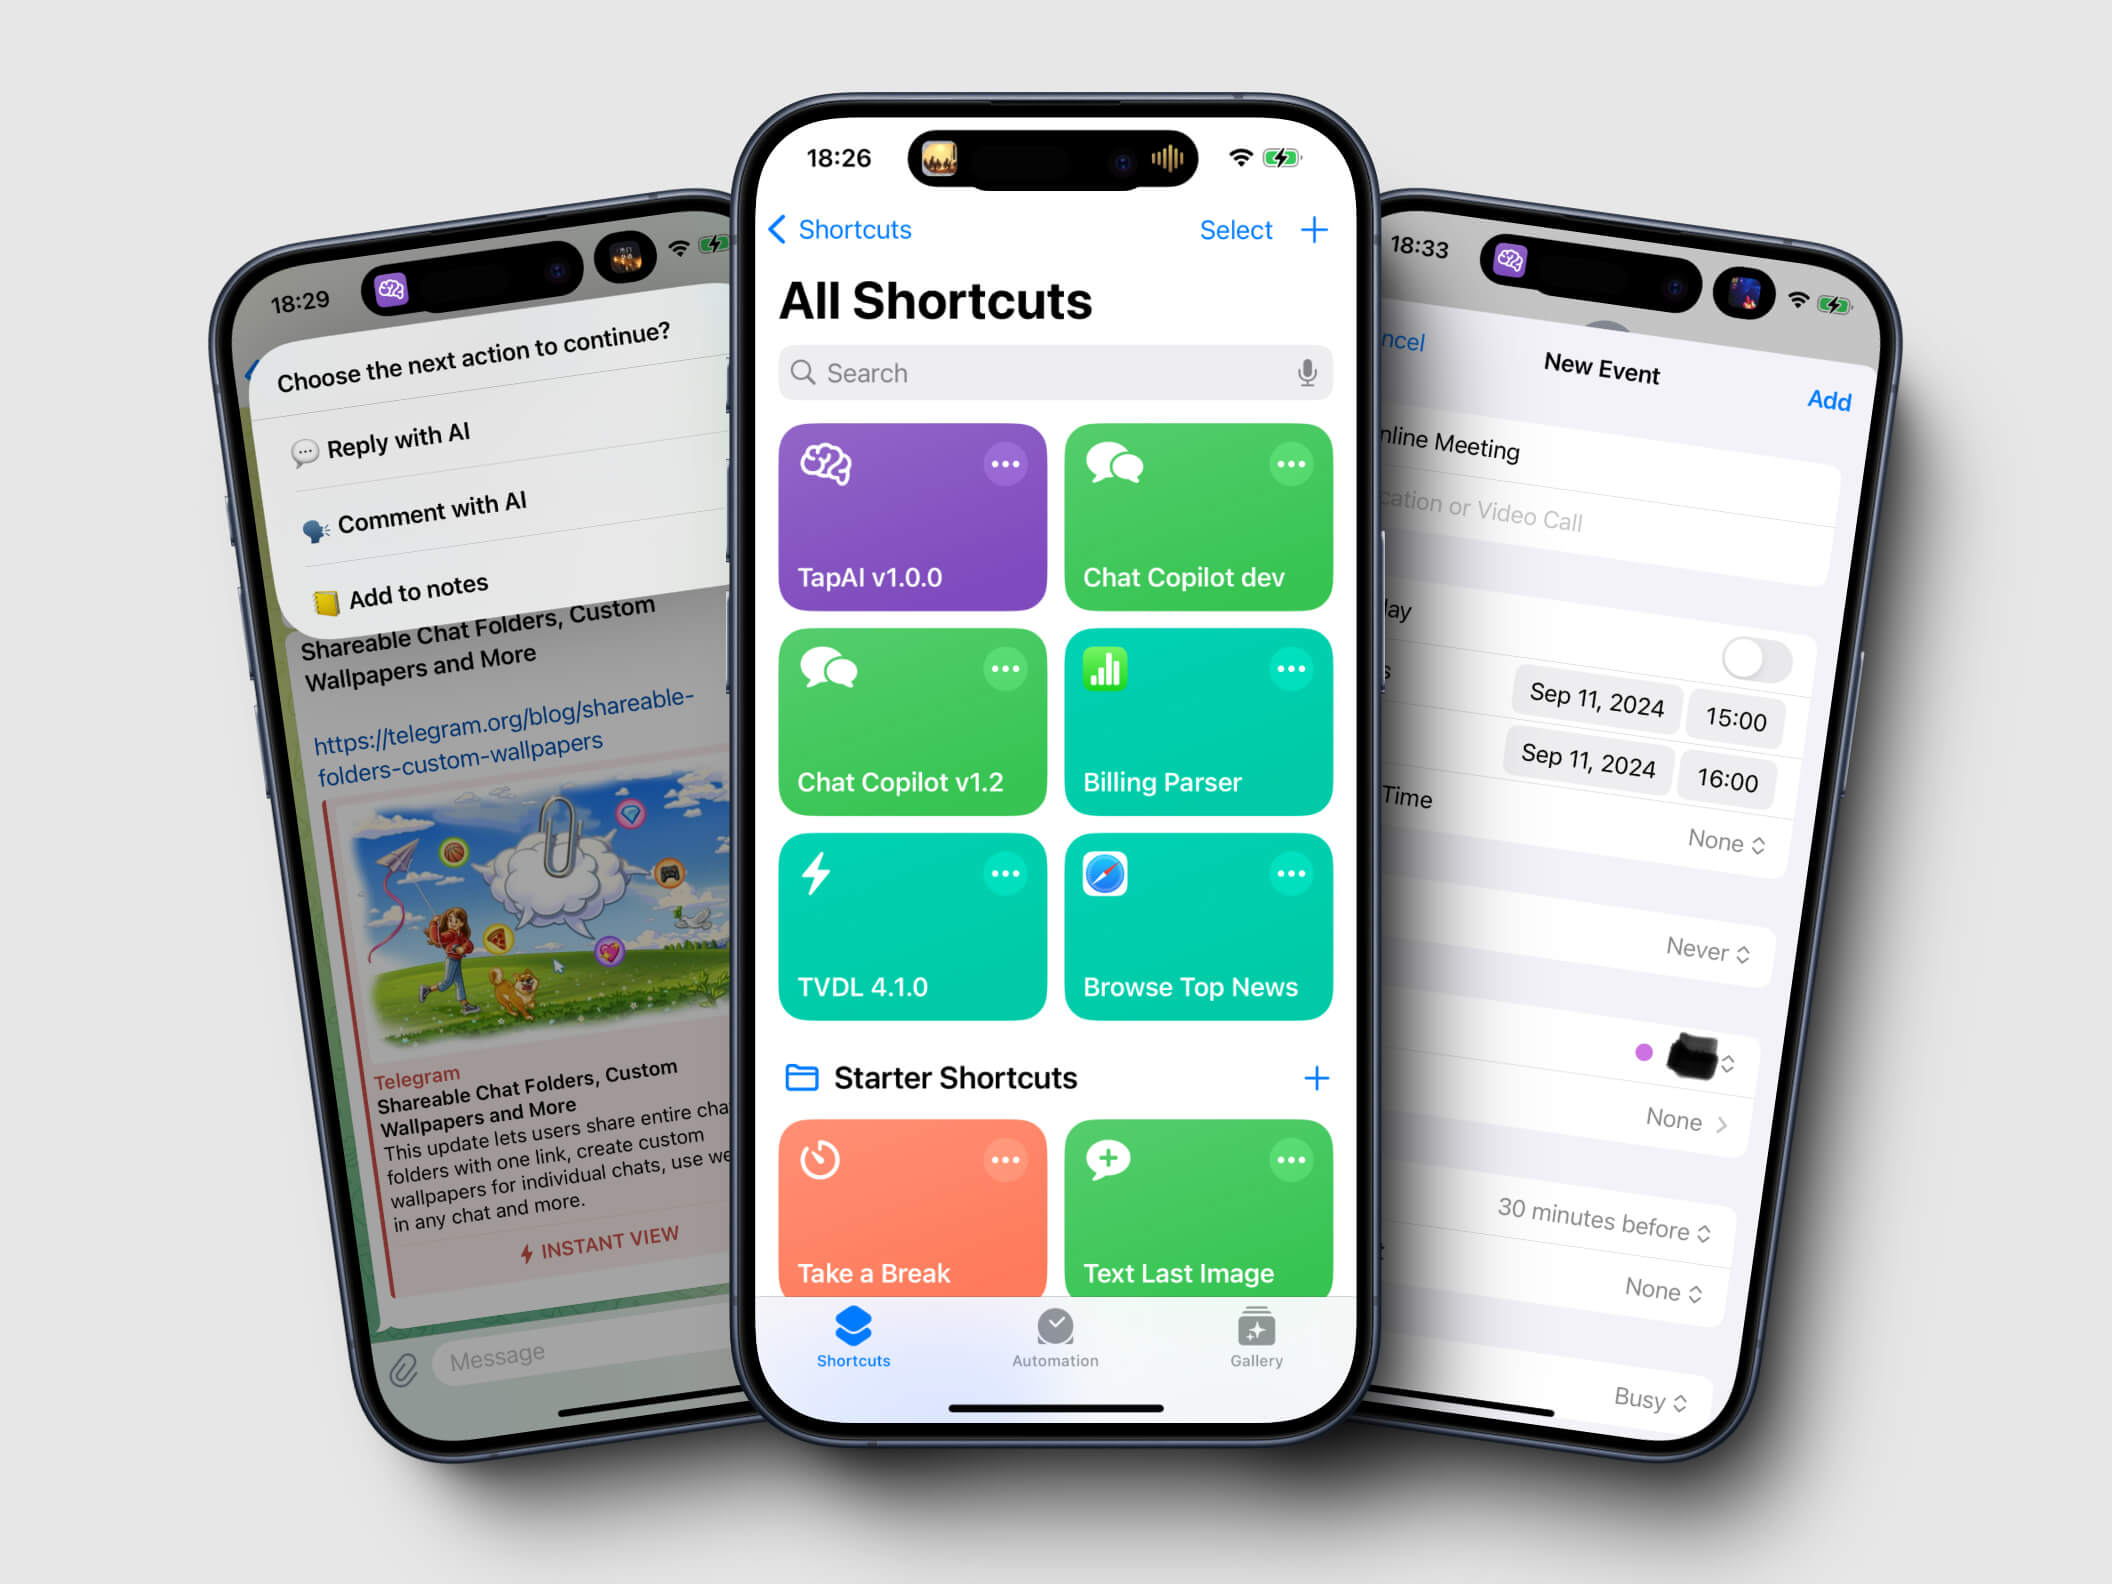
- Depending on the content, TapAI will perform actions such as:
- Adding events to your Calendar
- Creating tasks in Reminders
- Parsing bills and sending data to Google Sheets (You need share your Google Sheet to email: [email protected] with editor role)
- Generating smart replies or comments